How to Make the Perfect Sourdough Loaf Every Time: A Step-by-Step Guide for Home Bakers
Some links may be affiliate links, which means I might earn a small commission if you purchase—at no extra cost to you. I only recommend things I truly love. Thanks for supporting this space!
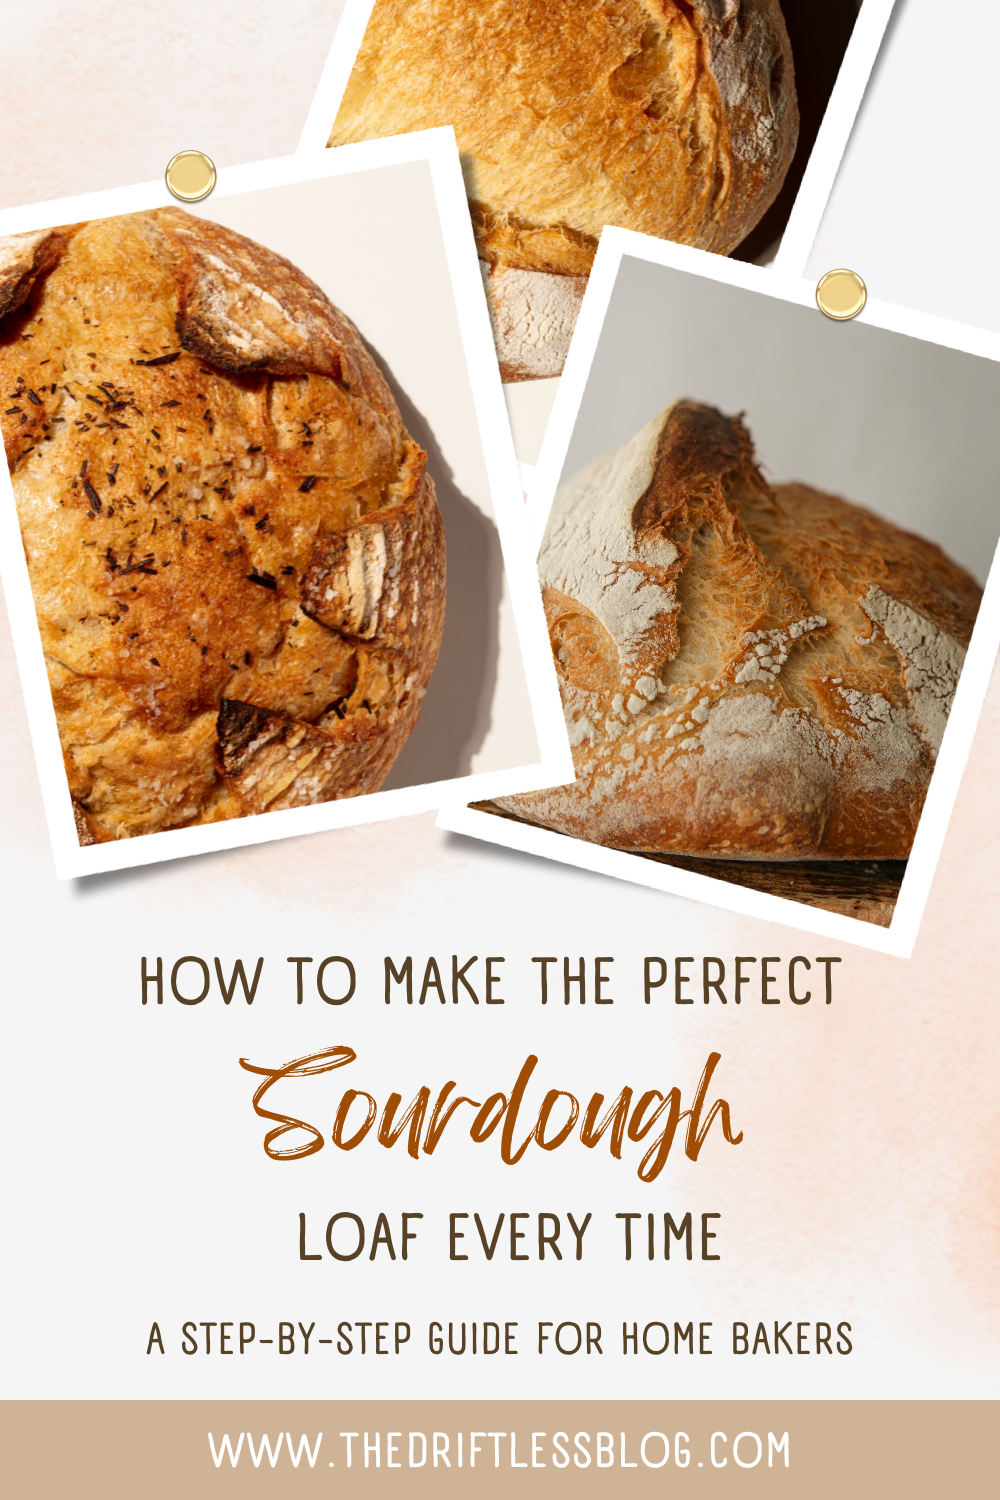
Once you start making your own bread, I swear you will never buy store bought bread ever again. There is just something about pulling a golden, crispy loaf of sourdough from your oven that is incredibly satisfying. Not to mention your house will smell fantastic. I say this as if making your own sourdough bread is the easiest thing in the world. It certainly didn’t start that way for me! Sourdough can be pretty unpredictable, which is why I wanted to create a step-by-step guide to helping you gain that consistency to get the perfect loaf of sourdough every time!
What’s so great about sourdough anyway?
Sourdough uses natural fermentation. No commercial yeast needed
There are a few health benefits such as lower gluten content and gut friendly making it easier to digest
It has a little bit of a unique flavor. Kind of tangy and rustic
Start with The Essentials
Tools
Digital Scale (Click here for the one I have)
Mixing bowl (and optional bench scraper)
Dutch Oven (I use this one from Lodge and absolutely love it!)
Lame or razor blade for scoring
Ingredients
Active sourdough starter
Bread flour (or all purpose flour)
Water
Salt
Step 1: Feed and Maintain a Healthy Starter
Feeding your starter starts with a 1:1:1 ratio of flour, water, and starter (if you are just getting started, you can start with flour and water)
When your active starter is ready to use, it will have doubled in size (in 4-6 hours), be bubbly, and smell yeasty
If you are going longer periods of time without using your starter, you can store it in the fridge. Otherwise you can leave it at room temperature if you’re feeding it every other day or so
Step 2: Starting your Bread Dough
Mix the active starter and water in a large mixing bowl first. Then add flour and salt and mix until a shaggy dough forms
Let this sit for 1 hour
Step 3: Stretch and Folds
Most recipes will call for 3-4 rounds of stretch and folds every 30 mins
Make sure to go around the entire bowl (usually about 4 stretch and folds per round)
Step 4: Bulk Fermentation
Ideal temperature and timing (usually 4–6 hours at 75°F / 24°C). If your environment is colder or warmer than that, you may need to adjust your bulk fermentation time accordingly
How to know it’s done: dough will increase by 50-75% and will be airy and jiggly
Step 5: Shaping the Dough
After bulk fermentation, use a lightly floured surface to shape the dough
You want to try and have good surface tension on the dough for a good final rise
Let sit at room temperature for another 1-2 hours
Step 6: Scoring and Baking
Preheat the oven with your dutch oven inside at 475F (15-20 mins)
Score the dough with a sharp blade/scoring knife
Bake covered for 20 minutes, then uncovered for 15-20 mins until golden brown and crispy
Step 7: Cool and Enjoy
Make sure to let the loaf cool for 1 hour before slicing!!
The texture and flavor will improve as the bread rests
Tips for Consistency
Make sure to use a food scale and weigh the ingredients
Keep notes (room temp, fermentation time, etc.)
Use the same flour brands
Don’t rush the process!
Sourdough can be tricky at first, but once you make the perfect loaf, I promise you will love it! It’s worth the time and effort, even the imperfect ones. One of the fun things about sourdough is you can learn from each of the past loaves to keep trying something different and find out what works best in your kitchen. If you’ve found this helpful, I’d love to hear about it! Let me know via email thedriftlessblog@gmail.com or message me on Instagram @thedriftlessblog. And don’t forget to subscribe below!